
5 Keys to Preparing Your Files for Printing Success
October 22, 2020
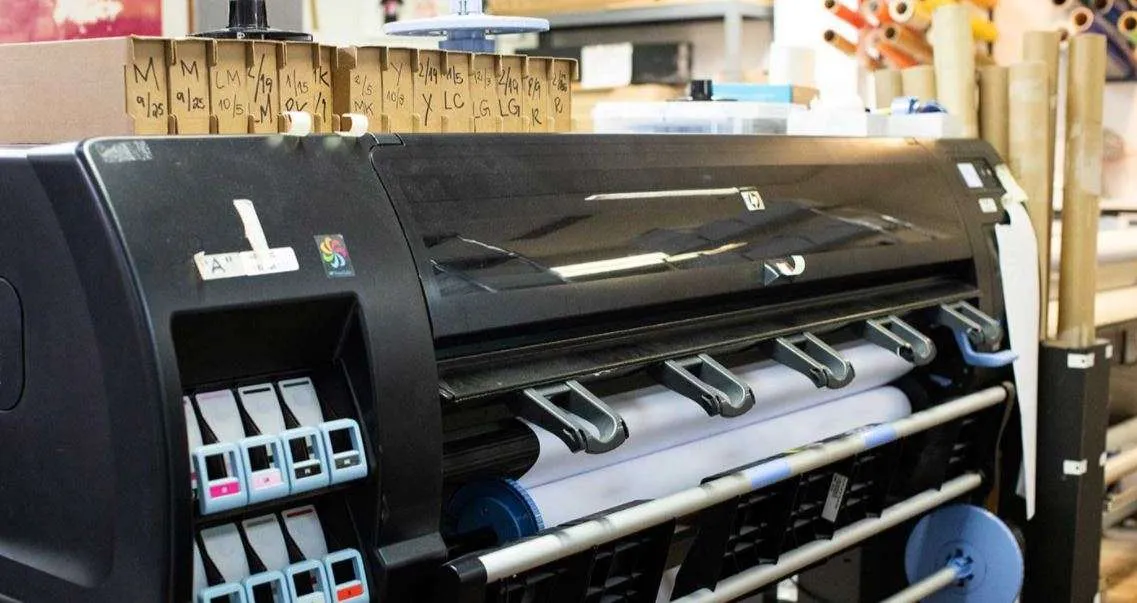
Dynamic. Unique. Brilliant. And fast. New York City businesses, artists, and organizations expect nothing less from their go-to printer. But achieving high-quality, quick turnaround printing to match the unparalleled energy and pace of NYC requires three things: an experienced team of experts rooted in the community, cutting-edge printing technology, and files that are prepared for optimal results.
We’ve got the first two covered, but file preparation is an area you can manage to maximize the speed of a project and the quality of the end results. We’ve put together a checklist of five key actions you can take to ensure that your files are prepared successfully for printing:
Format: Send a PDF
In the world of printing, the PDF file is king. PDFs have the capacity to embed more information within each file than, for example, a JPEG, TIFF, or PNG file, or even Illustrator, Photoshop, or InDesign files. This means that your image, saved and sent to your printer as a PDF, will look more like the original in every detail than if you use another file type. PDFs are easy to create within any program you are using, from Word and Google to Publisher and more.
Image Resolution: Set to 300 DPI
An image that looks perfect, sharp, and crisp on your computer screen may not print with the same degree of clarity, and it all has to do with resolution. Resolution refers to how many dots per inch (DPI) an image is made up of. This is also sometimes called PPI, or pixels per inch—though technically the terms have a slightly different meaning, for our purposes in preparing files, think of them as the same thing.
When you view a graphic on your computer, you are usually viewing it at 72 DPI. However, files are printed at 300 DPI—over three times the level of detail and amount of information than is required for web graphics. To ensure your printed images are of the highest quality, use the resolution settings in your graphics program to fix the resolution to 300 DPI before sending files.
Bleed: Include 0.125” if applicable
This is something you only have to consider if your design will be extending to the edge of the printed material. When that happens, printers actually have to print the project on a slightly larger piece of paper (or whatever material is being used) and cut it down to your requested size. We use the term “bleed” to refer to the areas of the design that go beyond the margin, and that we will eventually trim off. For example, if you are printing a 4” x 6” notecard and you want the art you are supplying to extend to the edge of the notecard, you would add 0.125” to the overall size, making it 4.125” x 6.125”. This leaves us room to bring the image all the way to the edge and trim off the excess.
There’s one other note to keep in mind here: be sure that none of your text or other essential elements fall into the bleed area, because they will be cut off. Ensure that all copy and other important elements like a focal point in an image fall within the margin and not in the 0.125” bleed area.
Color: Use CMYK
Computers use a color profile called RGB, which stands for red, green, blue. All of the colors you see on your computer are made up of different percentages of these three primary colors. Full color printing, on the other hand, makes use of a color profile called CMYK, a four-color process using cyan, magenta, yellow, and black.
If you send a file to your printer in RGB, your printed product will look very different from what you expected when previewing the project on your computer. To avoid discrepancies and assure accuracy of color in your full color printing projects, convert them to CMYK before sending or, better yet, set up the new project in CMYK from the start.
Resizing: Avoid if you can
When at all possible, create and send your project in the size you want it to be printed, making allowance for a bleed area if needed. Resizing files, sometimes called resampling, can lead to a host of issues from poor image quality to misaligned or missing graphic elements. For example, resampling an 8” x 11” file to a 5” x 7” inch file may distort or cut off parts of the design, while resampling a 5” x 7” file to an 8” x 11” file will have disastrous effects on the image resolution.
If you run into a situation where resampling is needed, talk with your printer about the best way to proceed so that the project’s integrity and quality is preserved.
Tags: artists, bleed, color, cutting-edge printing technology, format, graphics specialists, gresizing, image resolution, New York City, New York City businesses, NYC, printing specialists, quick turnaround printin, Soho