
How to Design a Saddle-Stitched Booklet in Canva for Professional Printing (2026 Guide)
March 27, 2026
Designing a booklet in Canva is easier than ever. But designing a booklet that prints beautifully? That takes planning.
If you’re preparing artwork for saddle stitch booklet printing, a few technical details make the difference between a polished, professional piece — and a costly reprint.
Below is a practical, print-floor-informed guide to designing a saddle-stitched booklet in Canva so it’s fully optimized for high-quality printing.
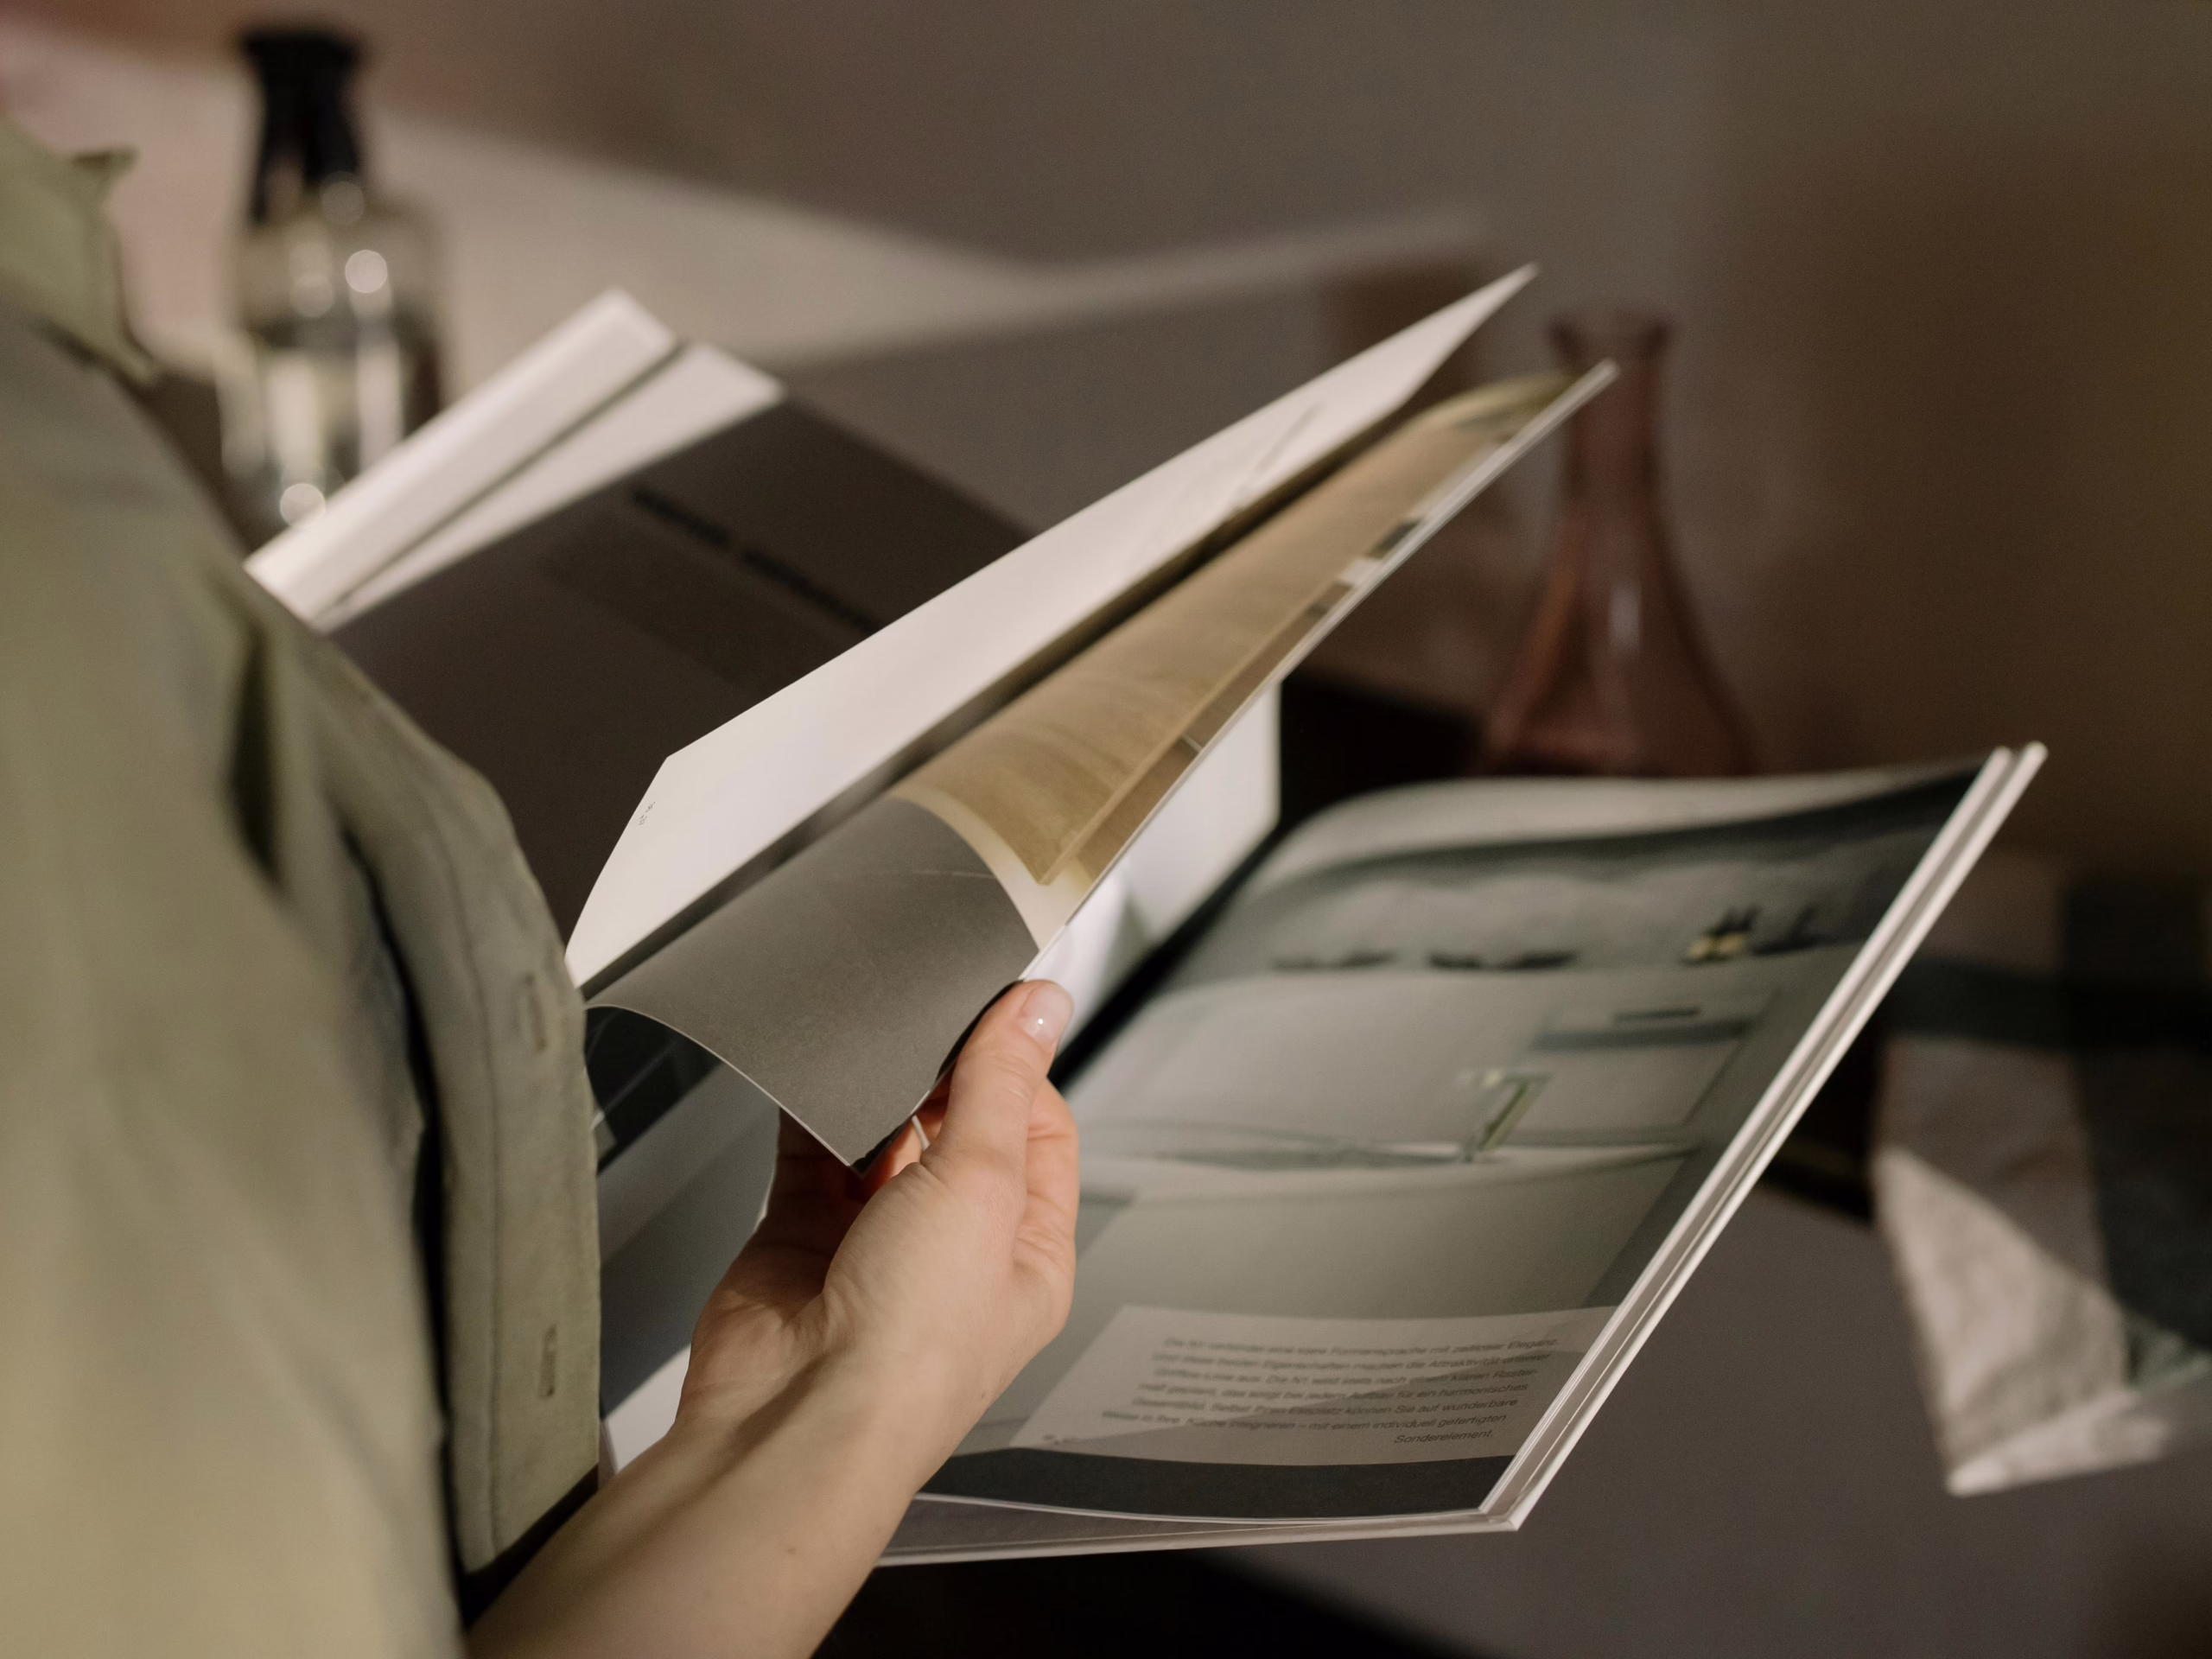
What Is a Saddle-Stitched Booklet?
Saddle stitch booklet printing uses folded sheets nested together and stapled along the spine. It’s ideal for:
- Event programs
- Annual reports under 64 pages
- Marketing brochures
- Product catalogs
- Nonprofit gala journals
Because pages are printed as spreads and folded, layout precision matters.
1. Set the Correct Print Dimensions in Canva
Before designing anything, confirm your final trim size with your printer.
Common NYC booklet sizes:
- 5.5” x 8.5” (half-letter)
- 8.5” x 11”
- 6” x 9”
In Canva:
- Choose “Custom Size”
- Enter the final trim size (not spread size)
- Design pages as single pages, not spreads
For example, an 8.5” x 11” finished booklet should be designed as:
8.5” wide x 11” tall per page
Your printer will handle imposition (arranging pages into printer spreads).
2. Your Page Count Must Be in Multiples of 4
This is non-negotiable in saddle stitch booklet printing.
Because folded sheets create 4 pages per sheet:
- 8 pages = OK
- 12 pages = OK
- 16 pages = OK
- 18 pages = Not possible
If your count isn’t divisible by 4, you’ll end up with blank pages.
Pagination Rule:
- Page 1 = Front Cover
- Page 2 = Inside Front Cover
- Final Page = Back Cover
Always confirm page order before exporting.
3. Set Up Bleeds Correctly
Professional saddle stitch booklet printing requires bleeds.
What is bleed?
Extra artwork that extends beyond the trim edge to prevent white borders after cutting.
Standard bleed:
0.125” (1/8 inch) on all sides
In Canva:
- Enable “Show print bleed”
- Extend background images and color blocks past the trim edge
Never place text within 0.25” of the trim edge.
4. Use High-Resolution Images (300 DPI Minimum)
For sharp printing:
- Images must be 300 DPI at final size
- Avoid screenshots
- Avoid scaling small images larger than 100%
If your image is 72 DPI (web resolution), it will look blurry in print.
Quick Rule:
If it looks soft when zoomed to 100%, it will print soft.
For premium saddle stitched booklet printing in NYC, image quality is one of the first things clients notice.
5. Use Vector Files for Logos
Logos should always be:
- SVG
- EPS
- PDF (vector)
Not:
- PNG screenshots
- JPEG exports
Vector files scale infinitely without losing sharpness. This is especially important for:
- Corporate reports
- Luxury brand booklets
- Real estate marketing materials
6. Use Fonts That Will Print Correctly
Canva embeds fonts when exporting as PDF — but you must:
- Avoid obscure or web-only fonts
- Avoid converting text to raster graphics
- Proof your final exported PDF to confirm no substitutions
If using brand fonts:
- Upload licensed font files to Canva Pro
- Confirm they embed properly in PDF export
Font substitution is one of the most common prepress issues in booklet printing.
7. Understand CMYK vs RGB Color
Canva designs in RGB (screen color).
Professional saddle stitch booklet printing uses CMYK (print color).
RGB colors often look brighter on screen than in print.
What to do:
- Avoid ultra-neon colors
- Expect slight dulling in print
- Work with a local printer who can provide a printed proof
If color accuracy is critical (fashion, art, real estate), request a physical proof.
8. Account for Creep in Thicker Booklets
“Creep” happens when inner pages push outward slightly after folding.
For booklets over ~40 pages:
- Margins should be slightly wider near the spine
- Avoid placing critical content too close to the inside edge
Your printer should manage creep adjustment during imposition — but good margin planning prevents issues.
9. Export a Print-Ready PDF Properly
When exporting from Canva:
- Select PDF Print
- Turn on:
- Crop marks
- Bleed
- Leave color profile as default (your printer will convert to CMYK)
Do NOT export as:
- JPG
- PNG
- Standard PDF
Always use PDF Print for saddle stitch booklet printing.
10. Work With a Local NYC Printer Who Provides Printed Proofs
Designing in Canva is step one.
Professional printing is step two.
When working with a local NYC printer, you can:
- Review a physical printed proof
- Confirm correct pagination
- Check image sharpness
- Verify color accuracy
- Evaluate paper weight and finish
- Inspect trimming and fold quality
If something is off — it can be corrected before the full run prints.
In fast-paced environments like New York City, having a printer nearby means:
- Faster proof cycles
- Real-time problem solving
- No surprises in delivery
For high-stakes projects like gala programs, investor reports, or marketing booklets, proofing is not optional.
Common Saddle Stitch Booklet Printing Mistakes to Avoid
- Designing spreads instead of single pages
- Forgetting bleeds
- Using low-resolution images
- Incorrect page counts
- Placing text too close to trim edge
- Assuming RGB colors will match exactly in print
Avoiding these issues ensures your saddle stitched booklet looks intentional and premium.
Final Thoughts: Canva + Professional Printing = Powerful Combination
Canva makes booklet design accessible.
But thoughtful setup makes it printable.
If you:
- Set correct dimensions
- Keep page counts in multiples of 4
- Use 300 DPI images
- Apply bleeds
- Export a proper print-ready PDF
- Partner with a local NYC printer who provides printed proofs
You’ll elevate your project from “DIY” to professional-grade.
And in 2026, when brand perception matters more than ever, high-quality saddle stitch booklet printing remains one of the most cost-effective ways to make a strong impression.
If you’re preparing artwork and want a second set of eyes before printing, consider sharing your PDF with a professional print team for review. A quick proof check can save time, budget, and brand equity.